All Categories
Featured
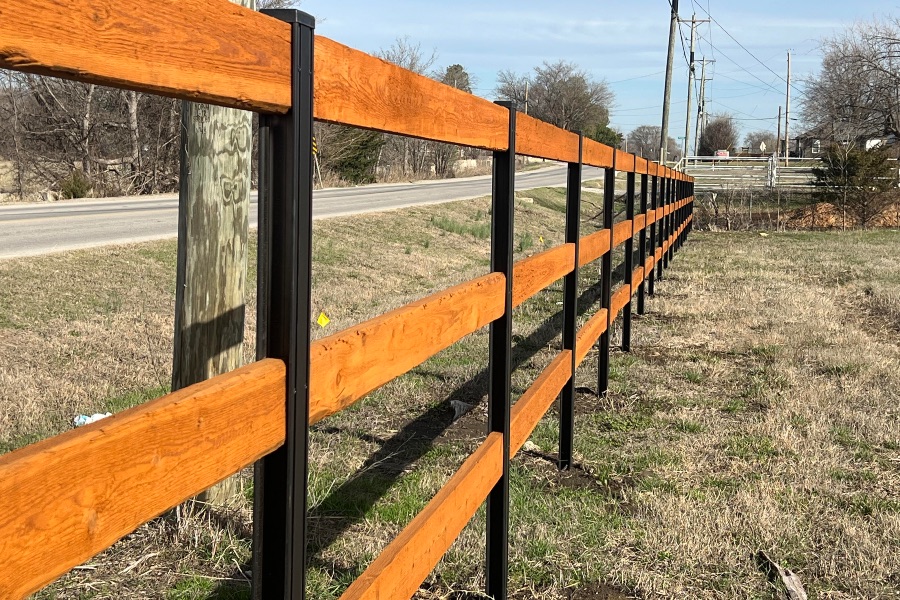
Fencing messages are the foundation of any type of durable fence, giving essential assistance and framework. In time, they might suffer or lean damage due to weather, soil problems, or basic wear and tear. Here's a functional guide to help you deal with a leaning or damaged fencing article properly.
Step 1: Determine the Problem
Prior to starting fixings, examine the cause of the leaning or damages. Common issues consist of:
Decaying Timber: Dampness can trigger wooden blog posts to degeneration.
Moving Soil: Disintegration or loose dirt might lead to instability.
Effect Damages: Articles can be deteriorated by collisions or severe weather.
Improper Installation: Shallow article holes or not enough anchoring can cause leaning.
Recognizing the source will assist you determine the most effective repair strategy.
Action 2: Collect the Necessary Tools and Products
Here's what you'll require:
Shovel or post hole miner
Degree
Post brackets or supports
Replacement blog post (if essential)
![]()
Crushed rock and/or concrete mix
Drill or hammer
Protective equipment (handwear covers, safety glasses)
Step 3: Fixing a Leaning Fence Article
If the post is leaning however structurally sound, follow these steps:
Reveal the Base. Dig around the article to expose the base, eliminating loosened soil or particles. This will permit you to reposition it.
![]()
Straighten the Blog Post. Press or pull the blog post upright, inspecting its placement with a degree. Use short-term dental braces or risks to hold it in place.
Reinforce the Foundation
Gravel Method: Include gravel around the base, tamping it to offer security.
Concrete Method: Mix and pour concrete right into the hole around the post. Ensure the message continues to be degree as the concrete collections.
Safeguard the Message. Allow the concrete cure for a minimum of 24-48 hours prior to getting rid of braces or risks.
Step 4: Changing a Damaged Fencing Message
If the message is broken, rotten, or otherwise irreparable, changing it is the ideal option.
Get Rid Of the Old Post. Remove the old message, including any kind of concrete footing. Utilize a lever or article puller for stubborn articles.
Prepare the Opening. Clean and broaden the opening as needed. For optimal assistance, the hole ought to be one-third the length of the message.
Install the New Post. Location the new post into the opening. Use a degree to guarantee it's straight and momentarily brace it.
Safeguard and load. Add crushed rock for water drainage at the base, then fill up the opening with concrete or tightly packed soil. Allow the concrete to establish prior to connecting the fencing panels.
Action 5: Avoid Future Issues.
To keep your fence and stay clear of similar troubles:
Use pressure-treated timber or steel posts for raised resilience.
Make certain proper drain around the base to protect against water damages.
Conduct regular assessments to recognize potential problems early.
Final Thought
Fixing a leaning or damaged fencing post doesn't have to be intimidating. With the right devices, materials, and approach, you can restore your fence to its complete capability and appearance. Normal maintenance and aggressive treatment will certainly assist prolong the life of your fence, guaranteeing it continues to be a dependable and appealing part of your residential or commercial property for years to find.
Step 1: Determine the Problem
Prior to starting fixings, examine the cause of the leaning or damages. Common issues consist of:
Decaying Timber: Dampness can trigger wooden blog posts to degeneration.
Moving Soil: Disintegration or loose dirt might lead to instability.
Effect Damages: Articles can be deteriorated by collisions or severe weather.
Improper Installation: Shallow article holes or not enough anchoring can cause leaning.
Recognizing the source will assist you determine the most effective repair strategy.
Action 2: Collect the Necessary Tools and Products
Here's what you'll require:
Shovel or post hole miner
Degree
Post brackets or supports
Replacement blog post (if essential)

Crushed rock and/or concrete mix
Drill or hammer
Protective equipment (handwear covers, safety glasses)
Step 3: Fixing a Leaning Fence Article
If the post is leaning however structurally sound, follow these steps:
Reveal the Base. Dig around the article to expose the base, eliminating loosened soil or particles. This will permit you to reposition it.
Straighten the Blog Post. Press or pull the blog post upright, inspecting its placement with a degree. Use short-term dental braces or risks to hold it in place.
Reinforce the Foundation
Gravel Method: Include gravel around the base, tamping it to offer security.
Concrete Method: Mix and pour concrete right into the hole around the post. Ensure the message continues to be degree as the concrete collections.
Safeguard the Message. Allow the concrete cure for a minimum of 24-48 hours prior to getting rid of braces or risks.
Step 4: Changing a Damaged Fencing Message
If the message is broken, rotten, or otherwise irreparable, changing it is the ideal option.
Get Rid Of the Old Post. Remove the old message, including any kind of concrete footing. Utilize a lever or article puller for stubborn articles.
Prepare the Opening. Clean and broaden the opening as needed. For optimal assistance, the hole ought to be one-third the length of the message.
Install the New Post. Location the new post into the opening. Use a degree to guarantee it's straight and momentarily brace it.
Safeguard and load. Add crushed rock for water drainage at the base, then fill up the opening with concrete or tightly packed soil. Allow the concrete to establish prior to connecting the fencing panels.
Action 5: Avoid Future Issues.
To keep your fence and stay clear of similar troubles:
Use pressure-treated timber or steel posts for raised resilience.
Make certain proper drain around the base to protect against water damages.
Conduct regular assessments to recognize potential problems early.
Final Thought
Fixing a leaning or damaged fencing post doesn't have to be intimidating. With the right devices, materials, and approach, you can restore your fence to its complete capability and appearance. Normal maintenance and aggressive treatment will certainly assist prolong the life of your fence, guaranteeing it continues to be a dependable and appealing part of your residential or commercial property for years to find.
Latest Posts
Learn How WyHy Federal Credit Union Maximizes Your Savings on Borrowing and Banking
Published May 27, 25
1 min read
Improve Your Home's Exterior with Weathercraft's Exterior siding Solutions
Published May 25, 25
1 min read
Unlock WyHy FCU – Key Advantages for Your Future
Published May 25, 25
1 min read